What Can a Teapot Teach You About Rendering?
Learn how to use VRay Proxy to import geometry from an external mesh through this teapot example in Vray 3.2 for 3ds Max in this free tutorial.
Creating clear glass material in Rhino free tutorial.

A free tutorial from the Black Spectacles course 3D Rendering with Vray 3.2 for SketchUp and Rhino 5.
In this Black Spectacles tutorial (that's free - by the way), you will learn how to create a clear glass material for your 3D model in Rhino 5 for Vray 3.2.
This tutorial is part of the Black Spectacles course on 3D Rendering with Vray 3.2 for SketchUp and Rhino 5 in which you will learn how to bring a 3D model into Vray for SketchUp 216 and Rhino 5, render it out, and touch it up in Photoshop to give your final image a professional finesse.
View the entire course here:
3D Rendering with Vray 3.2 for SketchUp and Rhino 5
Step 1: Organize the Materials Editor
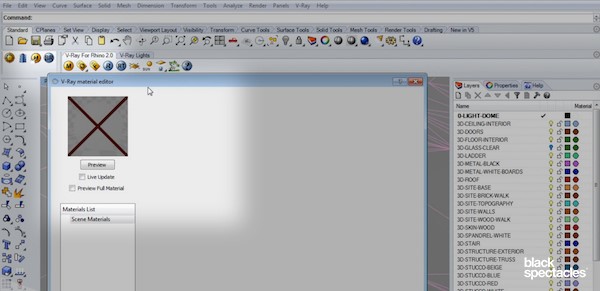
To start, click on the large “M” icon, to bring up the materials editor. You can see in this model, there aren’t any materials. This is where you can load and create materials for your model.
The organization here becomes very important in terms of being able to organize your model later on by material because the assignment of materials to objects can be done in two ways: directly to all the objects in a particular layer or to individual objects that are selected.
In terms of how you organize things, as long as objects are in the right layer, then you don’t have to worry about putting the wrong materials on the wrong things.
Step 2: Create a Material
To start, we will make glass from scratch, and then you’ll assign it to the glass layer.
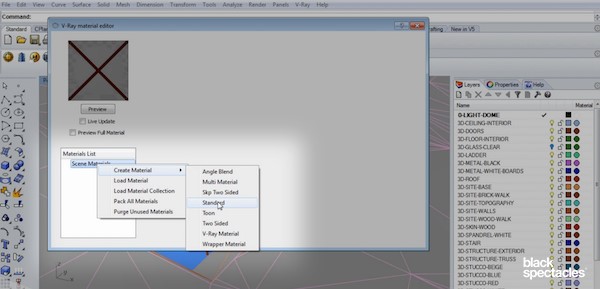
First, right-click on “Scene Materials,” then go to “Create Material,” then to “Standard.” You will see a window pop up.
It’s a good idea to change the name of your new material. You can do this by just double clicking on the name “DefaultMaterial,” and name it something like “GLASS CLEAR.”
Step 3: Add Layers to Your Material
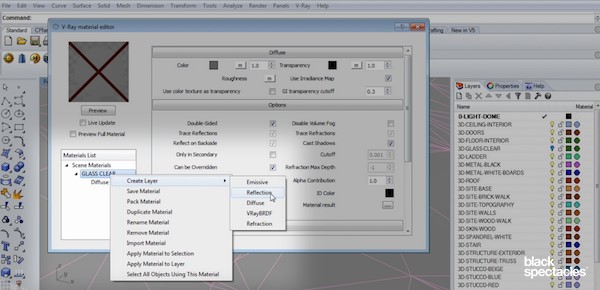
Now you know glass is going to need reflection, and it’s going to need refraction. So next you need to add those layers to it. To do that, right click on the material, and go to “Create Layer,” from there you can add a Reflection layer. Do that same process again and also add a Refraction layer.
The order of these layers does affect the results. You want to ensure Refraction goes on top of Diffuse, so go ahead and drag and drop the layers where you want. The order for this example should be: Refraction, Reflection, Diffuse.
Step 4: Refraction Layer Settings
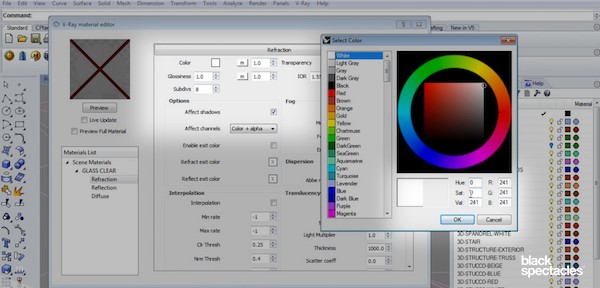
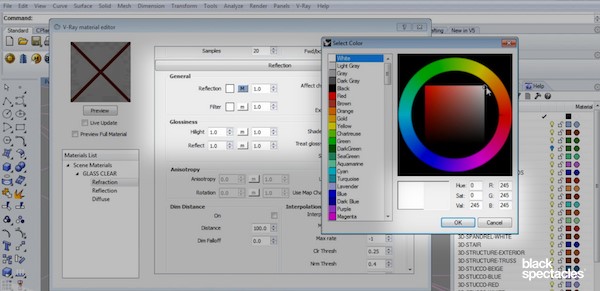
Select the Refraction layer, and if you start with the color, this affects the amount of refraction. So white means it’s 100% refracted or 100% transparent. Black means completely opaque. For glass, you probably want almost white, but not quite all the way, so keep the value around 240-245. That will give you a little bit of opacity to the glass which will help catch reflections.
The glossiness can stay at 1, the Index of Refraction (IOR) can stay at 1.55 which is the right number for glass, and double-check that the “Affect shadows” option is turned on. Everything else can stay as is.
Step 5: Reflection Layer Settings
The reflection amount is set to be pure white, 100% reflective. Again, you probably don’t want it 100%, but pretty close. So make that slightly gray. The glossiness values can stay at 1, and everything else can stay the same.
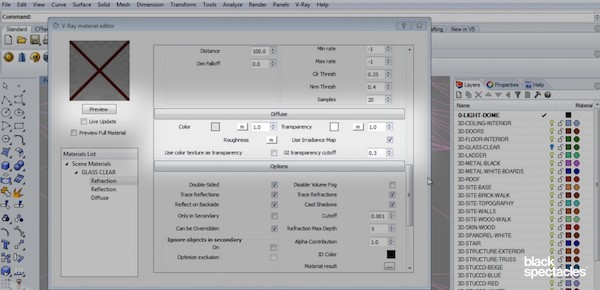
Step 6: Diffuse Layer Settings
For the color of the glass, make it a very light gray. And the transparency should be white.
Those are the basic settings to make a clear glass material. If you click on “Preview” you will see you’ve created a realistic-looking glass material.
Watch the video for this tutorial here:
Learn how to use VRay Proxy to import geometry from an external mesh through this teapot example in Vray 3.2 for 3ds Max in this free tutorial.
Learn about applying the Vray Toon Effect in Vray 3.2 for 3ds Max in this free Black Spectacles tutorial.
Reflection glossiness settings vray sketchup free trial