Where can I download free Architecture Software?
Answers to where to download free Autodesk, Adobe, Trimble, McNeel Software for Architecture. Rhino, Grasshopper, Revit, Photoshop, 3ds Max, AutoCAD.
Rendered channels into photoshop free tutorial

A free tutorial from the Black Spectacles course 3D Rendering with Vray 3.2 for SketchUp and Rhino 5.
In this Black Spectacles free tutorial, you will learn how to bring rendered channels and rendered passes into Photoshop.
This tutorial is part of the Black Spectacles course on 3D Rendering with Vray 3.2 for SketchUp and Rhino 5 in which you will learn how to bring a 3D model into Vray for SketchUp 216 and Rhino 5, render it out, and touch it up in Photoshop to give your final image a professional finesse.
Bringing Rendered Channels into Photoshop Tutorial
A good rule of thumb is to try to create a rendering out of the box that will probably be about 80% complete. It’s got all the components you need. The colors might not be perfect, the lighting may need a little bit of work, but it’s a great base. And if you spend 45 minutes to an hour getting to this point from scratch, that’s great because then you can spend another 30 minutes or so tweaking it using all of these other render passes and render channels.
So let’s look at all of those render passes and channels.
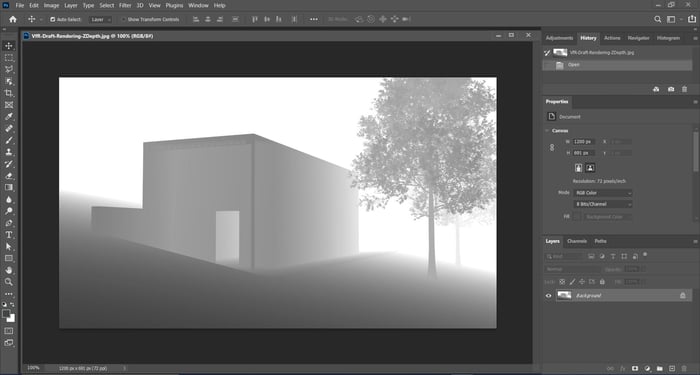
You can see the file titled “ZDepth” is giving you information about how far the objects are away from the camera. The closer the objects are to the camera, the darker they will be, and the farther away they are, they will be white. This is useful if you want to use it as a depth of field channel or tool.
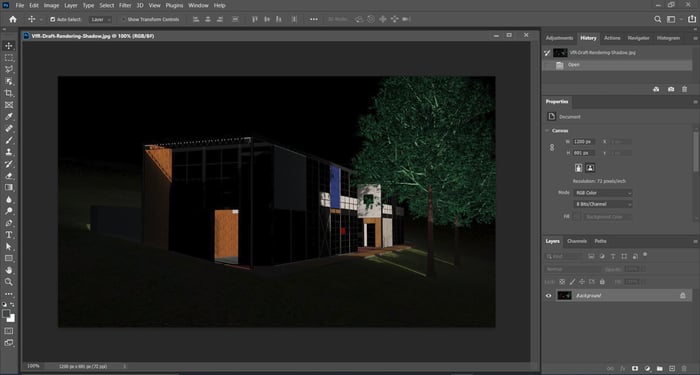
“Shadow” is just the shadows information. You can see where the light is and where the shadows are.
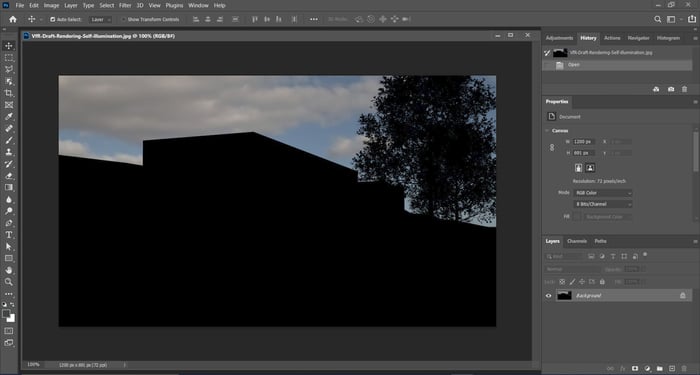
“Self-illumination” – this is the Vray dome. If you render with the Vray sky, this wouldn’t look like this. It looks like this because we are using the Vray dome, and the dome is self-illuminated objects, and this channel is picking that up. What this is helpful for is that this is a really good mask for your sky because everything is black except for the sky. So you can select the black, invert, and delete the sky if you want to swap it.
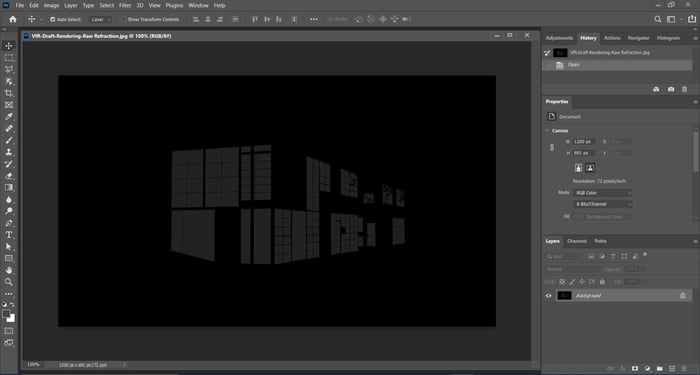
Next is “Refraction,” this one has the filter and the refraction built into it. But you can see it’s really just the refraction layer, so it’s showing you what’s behind every transparent object in the scene. Glass is really the only transparent object in this particular scene. So this will be great for enhancing the interior if it’s dark.
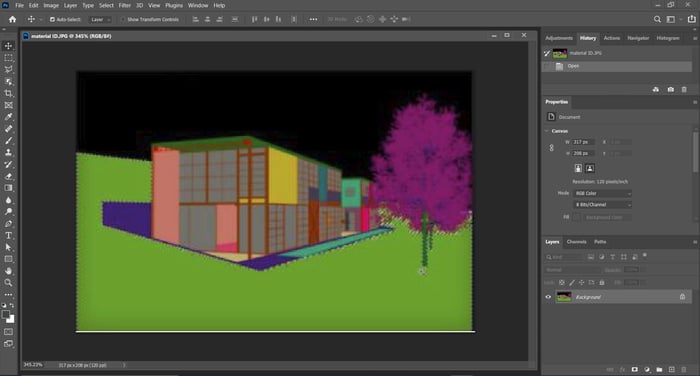
“Material ID” is good for selecting different pieces. So if you want to work on just the grass, you can just do a selection by color. To do that, go to “Select > Color Range” and click on the grass with the eyedropper tool, then hit OK and you will see all of the grass is selected.
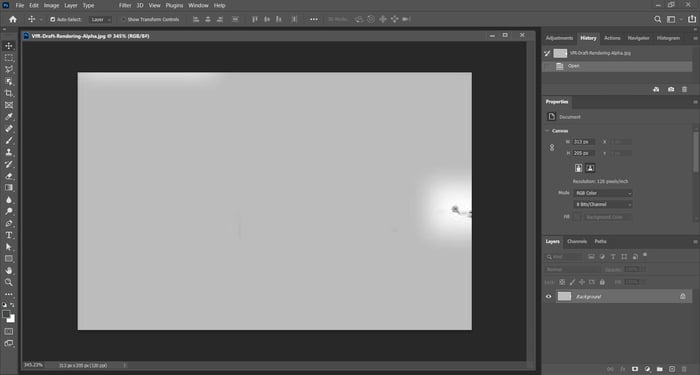
Next is “Alpha.” There’s only a tiny bit of Alpha here. The Vray dome is opaque, which is why you don’t get an alpha. If you were to use the Vray sky, you would get an alpha because that one is transparent.
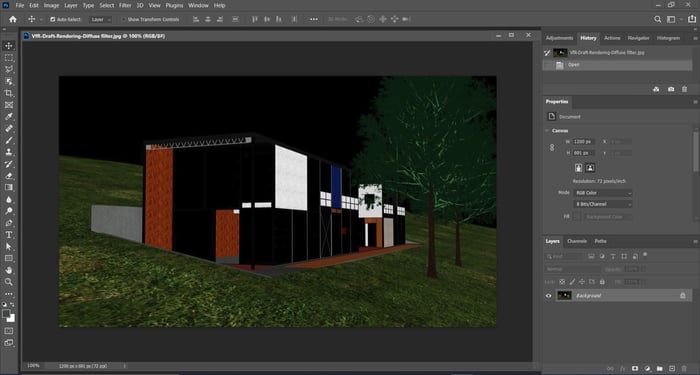
The “Diffuse filter” is basically just textures and colors with no lighting, no shadows, no bounce light, nothing. It literally just lays the colors and textures directly on it so everything looks flat.
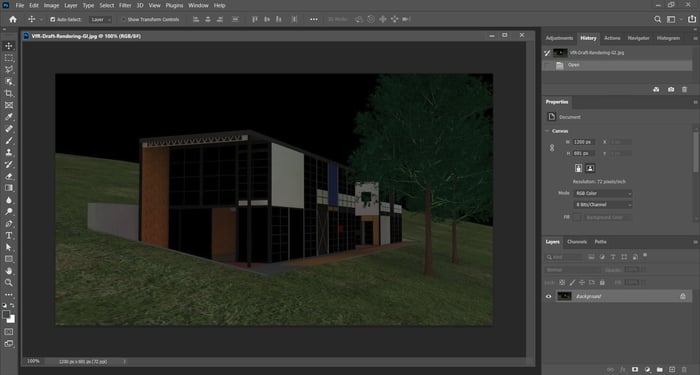
Then “GI” is just global illumination. No bounce lighting, just general ambient light paths.
Watch the video for this tutorial here:
Answers to where to download free Autodesk, Adobe, Trimble, McNeel Software for Architecture. Rhino, Grasshopper, Revit, Photoshop, 3ds Max, AutoCAD.
Learn about creating a daylight system in Vray 3.2 for 3ds Max in this free tutorial.
Black Spectacles is Great Place to Work-Certified for the second time